My 10 year old daughter made these coasters for my cousin, as a wedding shower present. To start we went shopping for our materials:


- plain tiles
- felt circles
- Small sponge brush
- glue gun with glue
- photos- we got two of each in case we messed up (we went with matte finish)
- Photo cutter, not madatory, but makes it look professional!
- Mod Podge
- acrylic sealant spray
The first three items were from the local hardware store and the rest were from our local crafting store. (minus the photos, thank you Costco)
First...PLAN AHEAD! Make sure you have at least 2 days to really get the layers to dry and to get rid of the sealant smell. This is not a hard craft, but you do need to plan ahead to make it easy.
My cousin had posted her engagement photos on her Facebook page and we simply downloaded them and sent them to Costco to be printed. We picked out which photos my daughter liked the best. We had printed more than we needed, but that was just in case we didn't like how it looked or if it didn't fit right on the tile.
I took a white piece of paper, placed a tile on top and marked the corners of the tile onto the paper. Then she cut out the paper. She took the cut paper and laid it on top of the photo and held it up to the light, so she could see how the photo would look trimmed. Once she lined it up, she marked on the photo where the edges were and then used the photo trimmer to trim it up.
 |
| Lining up the paper with the photo |
 |
| Gluing the photo onto the tile |
After all of the pictures were adhered, we waited a couple minutes and then she put on a layer of Mod Podge on top of the photo, using only vertical sponge swipes.

Then we waited another 20mins and added another layer of Mod podge and she used only horizontal swipes.


 |
| Horizontal swipes this time |
Why the different directions? Mod Podge leaves a texture behind and it is more visually interesting to change directions (at least to me). Just don't go crazy and start doing swirls...I can't vouch for how that will look.
So she did three coats total, with about 20-30mins in between each layer. Afterwards, we moved the tiles to a half sheet cookie pan that was lined with newspaper. We moved to the outside and she sprayed on her first sealant layer. She sprayed a light layer about 6-8 inches away from the tiles. We let that dry for half the day, sprayed the second layer and then let it rest overnight. Final layer was the next day.
 |
| Drying is important! Don't rush it! |
Then we broke out the hot glue gun, and she glued on the felt circles, so they won't scratch any tables. We used three per tile because they were large. Four per tile would be better for smaller circles. The circles come sticky, but hot glue really makes them stay. She also signed the back of each tile with her name, so Lisa will never forget who made these for her!


For the final touch, we found a beautiful ribbon and wrapped them up with a big fancy bow. My daughter loves this project so much, she is coming up with other people to make these for. Since the process was easy and totally within her comfort level of complexity, I hope she makes some for me!
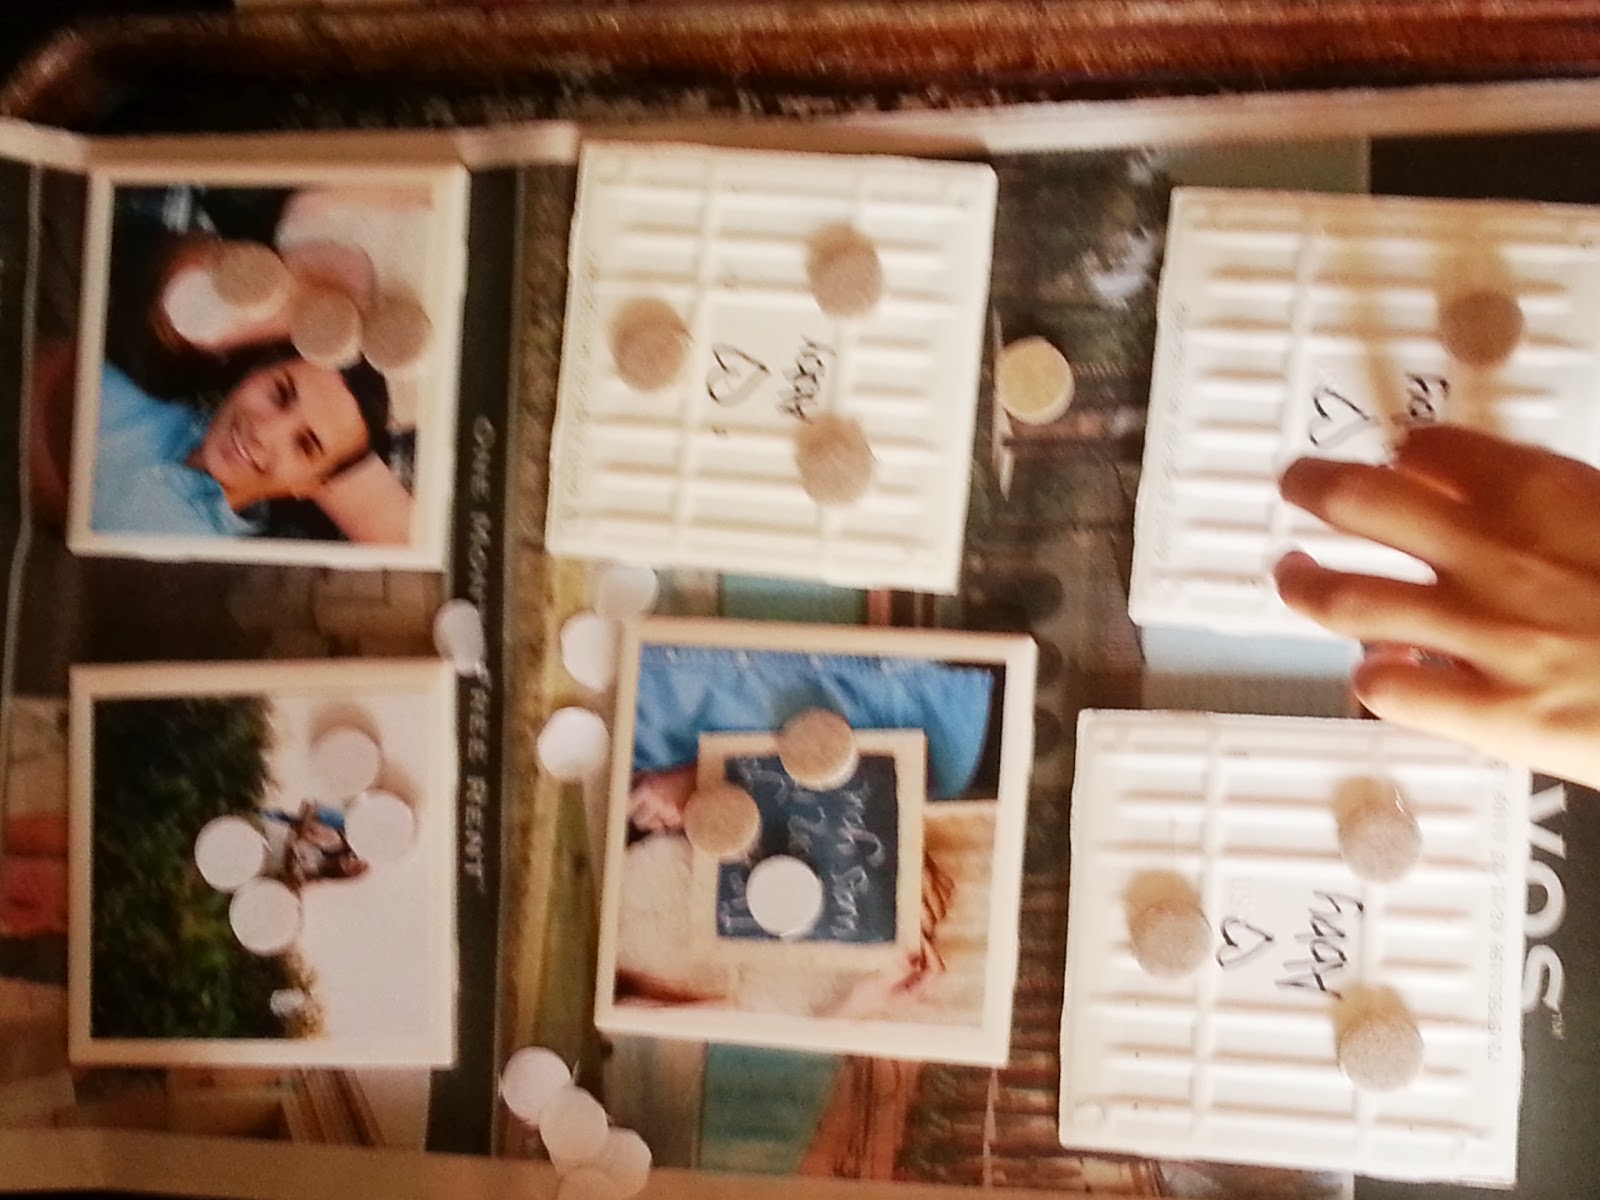
 |
| Made with love |
No comments:
Post a Comment